Building Torah Communities One Family at a Time
-
 Events
 -
 Parsha Message
 -
 Legacy
 -
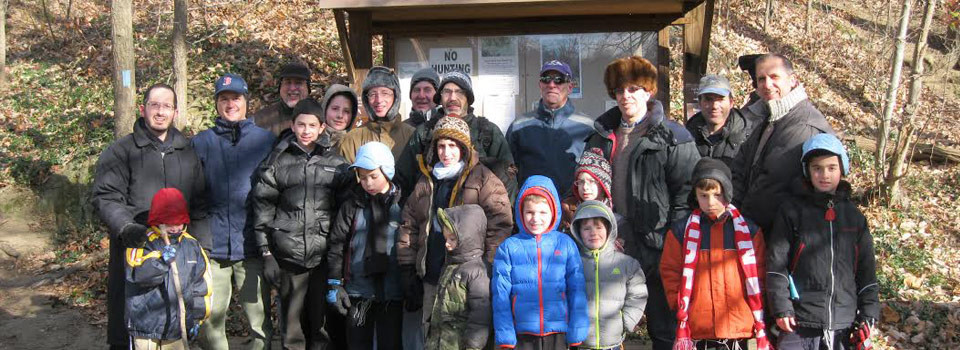
Perek Shirah Hike
Building Torah Communities, One Family at a Time™


Ongoing Teach 613 Programs
Perek Shirah
A Perek Shira Nature Walk with Rabbi Rhine at Brookside Gardens For a Sample Video Please Click read more